EyeCloud is another great plug and play IP-camera tool which allows you to control video from web cameras remotely.
We from Techforpc think that EyeCloud is a fantastic live video surveillance tool that uses IP cameras.
At this moment you can easily download EyeCloud for Android and iOS from the links below: Download film naruto shippuden the movie 5 blood prison subtitle indonesia.
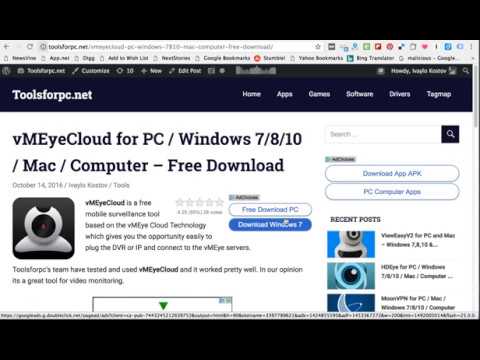
How to download and use EyeCloud for PC and Mac
How to Use vMEyeCloud on PC Windows/MAC? Once you successfully installed the vMEyeCloud Windows, log in to by user and device. After that, add the device details like name, port, serial number, address, user name, password, max channel, etc. Now, you can watch the live preview, saves videos, snapshots and so on. That’s how you get vMEyeCloud for PC on Windows or Mac PC. Feel free to leave your comments in the section below. Share any queries here too. Tags: Laptop Mac vMEyeCloud Computer vMEyeCloud for PC vMEyeCloud PC Windows. October 1, 2019. Next post Download WiseView for PC on Laptop.
If you ever wondered how to download and install EyeCloud for Windows or Mac you will have to know that the only method is by using an Android emulator such as BlueStacks. Fairy tail episode 253 dubbed.
With BlueStacks App Player you could easily run EyeCloud on PC / Mac / Windows all you need to do is to download the software and launch EyeCloud from there.
Related Posts
VMEyeCloud also comes with a recording feature. It saves all live streaming videos and stores them in the internal memory of the device. But you can select the cloud storage of vMEyeCloud as well. Furthermore, take screenshots and listen to the audio.
VMEyeCloud is one such application which manages multiple cameras at the same time. Just configure the camera by entering details. So to conclude, we can say that it is one such application which allows users to manage videos of CCTV cams within no time by using WiFi, 3G or 4G connection. Download vMEyeCloud for PC, Laptop, Desktop, Computer (Windows-Mac)Follow these easy steps in order to install vMEyeCloud for PC both Windows and Mac.Step1: The first thing you need to do is to download and install the BlueStacks Emulator on your PC.
It is available for both Windows and Mac OS. Step2: After the complete downloading of the file you need to install it on your PC System as you install other software on your PC.
Follow on-screen instructions in order to install BlueStacks on PC.Step3: You will see the icon of the Emulator on the Desktop of your PC. Double Click the icon in order to Open the Emulator.Step4: At the top, you will see an icon of search.
Use this icon and enter the word vMEyeCloud in it. Here you will see the results of the search.Step5: Click on the icon of the app. It will ask you to enable the App store. Click on the continue option to enable it.Step6: Now it asks you to enter Google Account. Here you need to enter your Gmail ID and Password in order to use Google Play Store features.Step7: After adding your Gmail ID you will be promoted to the installation page. Here you need to click on the install button in order to get vMEyeCloud for PC.Step8: Now go to the main homepage of BlueStacks. Here at the top, you will see MY APPS option.
Click on this option. Here you will see the vMEyeCloud application. Click on the icon in order to use it on your PC.vMEyeCloud App on Android Google Play Store.